
Decluttering sounds simple until you start.
You open one drawer, then another. You find things that belong in three different rooms. A donation pile starts growing. Suddenly the space looks worse than it did before you began.
The problem usually isn’t that decluttering doesn’t work. It’s that the process can get too big too quickly.
A better approach is to keep each decision contained, finish what you start, and make sure the things you’re removing actually leave the house.
Here’s a practical way to declutter without turning one messy area into five more.
This post may contain affiliate links, which means Serene Design Living may earn a commission if you purchase through one of our links, at no additional cost to you.
1. Start With What Requires Almost No Decision
The easiest place to begin is with the things you already know you don’t need.
Expired products. Broken items. Empty packaging. Obvious trash. Duplicates you never use.
These are low-effort decisions, which makes them a good way to build momentum without getting stuck right away.
You don’t have to start with the hardest category in the room. In fact, I usually wouldn’t.
2. Work Inside a Boundary, Not an Entire Room
One of the fastest ways to make decluttering feel overwhelming is to pull everything out at once.
Instead, choose a clear boundary.
One drawer. One shelf. One cabinet. One section of a closet.
Finish that space before opening another one.
That keeps the mess contained and makes it much easier to see progress.
3. Deal With Each Item Completely
Try not to create endless “deal with this later” piles.
If something is trash, throw it away.
If it belongs in another room, move it to your relocation basket.
If it is being donated, put it directly into the donation container.
If you are keeping it, return it to a defined place.
The fewer unfinished decisions you leave behind, the less likely the decluttering session is to create more clutter.
4. Give Categories a Physical Limit
Sometimes the problem isn’t that you have no storage.
It’s that one category has grown larger than the space available for it.
Instead of asking yourself whether every single item is worth keeping, decide how much space the category gets.
One shelf for mugs.
One basket for extra toiletries.
One drawer for reusable food containers.
One section of the closet for handbags.
When the category no longer fits comfortably, that gives you a clear signal that it may be time to reduce it.
5. Don’t Start With Sentimental Items
Photos, family keepsakes, children’s artwork, inherited pieces, and anything tied to strong memories can slow the process down quickly.
I’d leave those categories for later.
Start with items that are easier to evaluate so you can make visible progress first.
Once the space is less cluttered and you’ve built some momentum, sentimental items usually become easier to handle with more patience and attention.
6. Create a Real Donation Exit
A donation bag sitting in a bedroom for three months is still clutter.
The goal isn’t just to decide what you’re giving away. The goal is to get it out of the house.
Choose one donation container and decide in advance when it leaves.
That might be:
- when the bag is full
- every Friday
- before the next grocery trip
- at the end of each decluttering session
The more specific the exit plan is, the less likely donation items are to become another permanent pile.
A collapsible tote can make this easier because it gives donation items one defined place to go and can move straight from the house to the car when it’s full.
The CleverMade Collapsible LUXE Tote is a good fit for this because it folds flat when you’re not using it but still gives you a sturdy container while you’re sorting.
7. Be Careful With the “I’ll Sell It” Pile
Selling things can be worthwhile, but it can also create a lot of extra work.
Photographing. Listing. Pricing. Messaging. Storing. Meeting buyers.
Before adding something to the sell pile, decide whether the value is really worth the effort.
One approach is to set a minimum value for what you’re willing to sell and a deadline for how long you’ll keep it listed.
If it doesn’t sell by then, donate it.
That prevents the sell pile from becoming long-term storage.
8. Use One Temporary Relocation Basket
When you find something that belongs in another room, it can be tempting to stop what you’re doing and walk it there.
Do that ten times and suddenly you’re organizing the whole house at once.
Instead, keep one basket nearby for things that belong somewhere else.
When you finish the area you’re working on, carry the basket through the house and return everything at once.
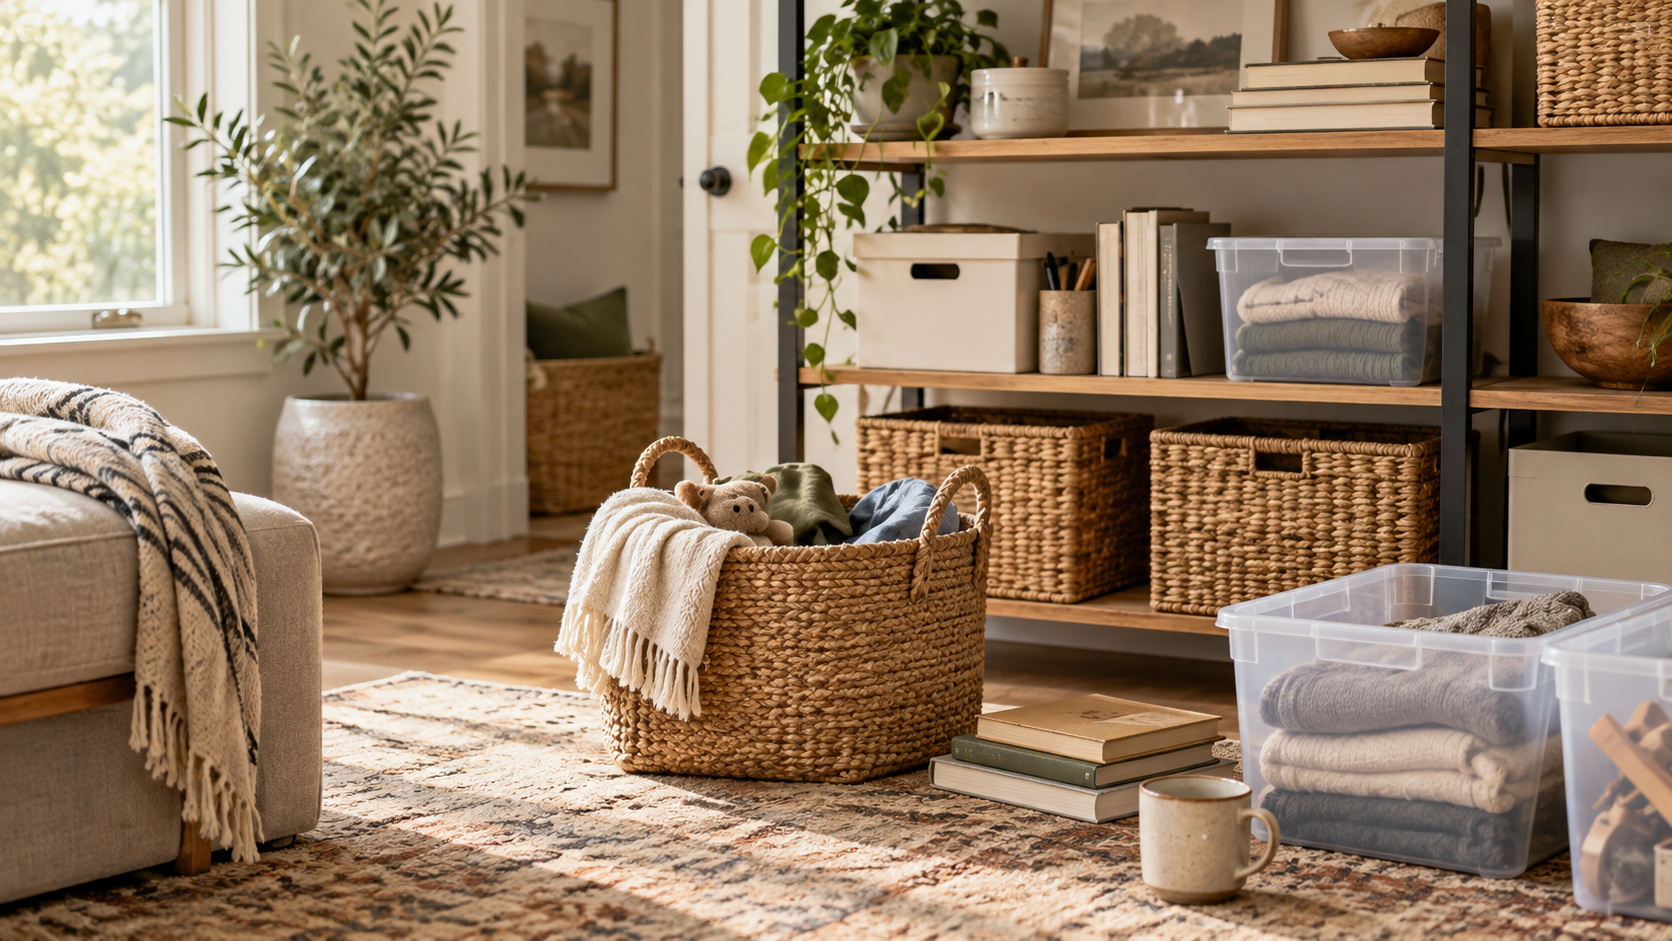
A basket with handles works especially well because it’s easy to carry from room to room and can stay out without looking too utilitarian.
The CHICVITA Large Woven Storage Basket with Handles is the kind of piece that works well for this because it’s practical but still looks at home in a living room, bedroom, or hallway.
9. Treat Duplicates Differently From Favorites
Some categories are hard to declutter because every item seems useful.
Instead of asking whether you like each one, ask how many you realistically need.
How many bath towels do you use?
How many food containers do you reach for?
How many charging cables are actually necessary?
How many nearly identical kitchen tools do you own?
This can make decisions easier because you’re evaluating the category as a whole instead of debating every item individually.
10. Stop Before the Room Is Destroyed
A successful decluttering session should end with the space looking better, not worse.
If you only have 30 minutes, choose an area you can reasonably finish in 30 minutes.
Don’t empty an entire closet when you know you won’t have time to put it back together.
Small completed areas usually create more progress than one giant unfinished project.
11. Declutter Before Buying Organizers
Storage products can be helpful, but buying them too early can create a new problem.
You may end up buying containers for things you later decide you don’t even want to keep.
Declutter first.
Then look at what remains and decide what kind of storage would actually make the space easier to use.
For closets, basements, or backup household supplies, clear bins can make it easier to see what you have without opening everything.
The IRIS USA Clear Stackable Storage Bins are a good example because they keep categories contained while still making the contents visible.
For smaller items that tend to slide together in drawers, adjustable dividers can be more useful than buying a completely new storage system.
The SpaceAid Bamboo Drawer Dividers let you create sections around the items you actually decided to keep, which makes them a better fit after decluttering than before.
12. Make One Pass for Volume, Then Another for Refinement
You don’t have to make every difficult decision the first time through.
The first pass can focus on obvious excess.
Trash. Duplicates. Things you clearly don’t want. Items that no longer belong in the space.
Then come back later for a second pass.
Once the area is lighter and easier to see, you may notice more things you’re ready to let go of.
Decluttering doesn’t have to happen perfectly in one round.
Where I’d Start
I’d choose one small area that regularly feels frustrating.
Not the whole house.
Not even the whole room.
Just one drawer, shelf, cabinet, or corner.
Clear the obvious excess first, finish every decision you make, and make sure donations actually have a way out of the house.
The goal isn’t to create a perfect home in one weekend.
It’s to make the space easier to live in, one finished area at a time.